
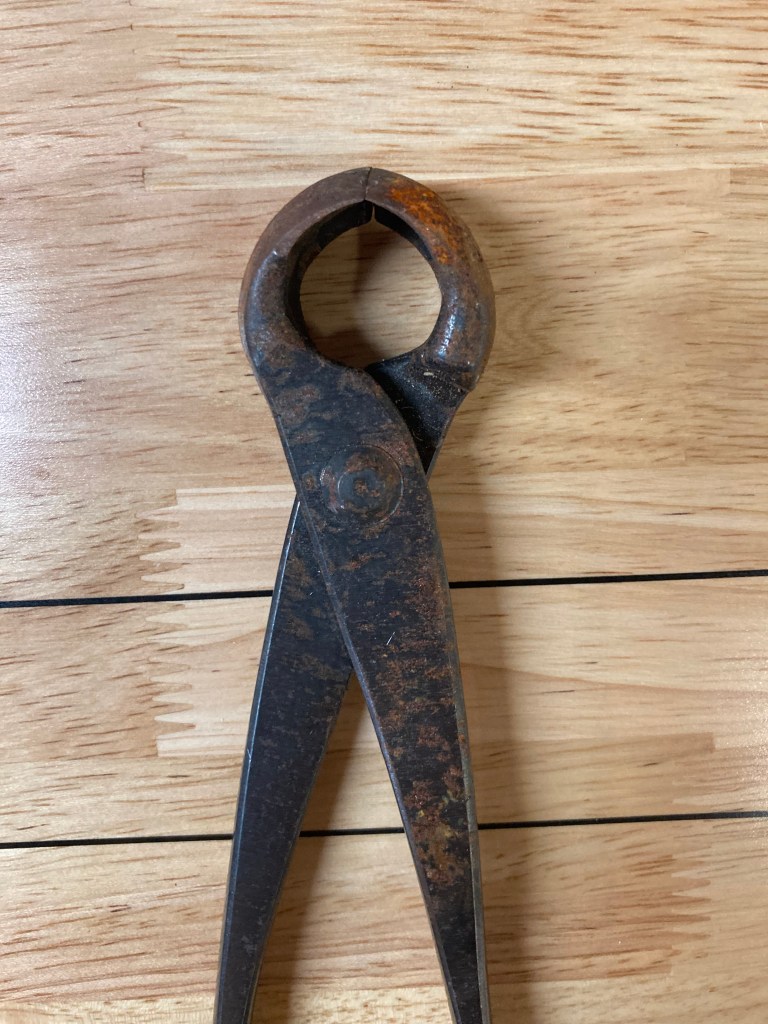
Living near the coast, I’ve learned the hard way that bonsai tools need extra care. The morning fog in coastal areas brings constant moisture, and if you’re not careful, rust shows up quickly. Recently, I realized I hadn’t been maintaining my tools as well as I should have, and one of my knob cutters had even been left out in the rain. The result? Rust spots, dull finishes, and tools that were far from their best.
Here’s how I brought them back to life; and how you can keep your bonsai tools in great condition, even in tough environments.
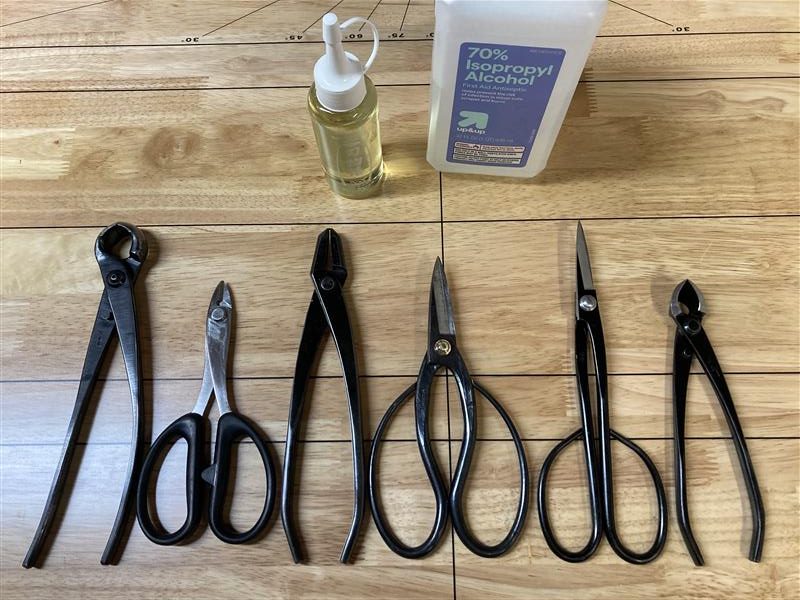
Step 1: Initial Cleaning
I started by wiping every tool with rubbing alcohol. This serves two purposes:
- It disinfects the blades, preventing disease from spreading between bonsai.
- It removes surface dirt, sap, and oils so you can see what you’re working with.
For light sap, alcohol is usually enough. For stubborn spots, a plastic scraper or non-abrasive pad works better.
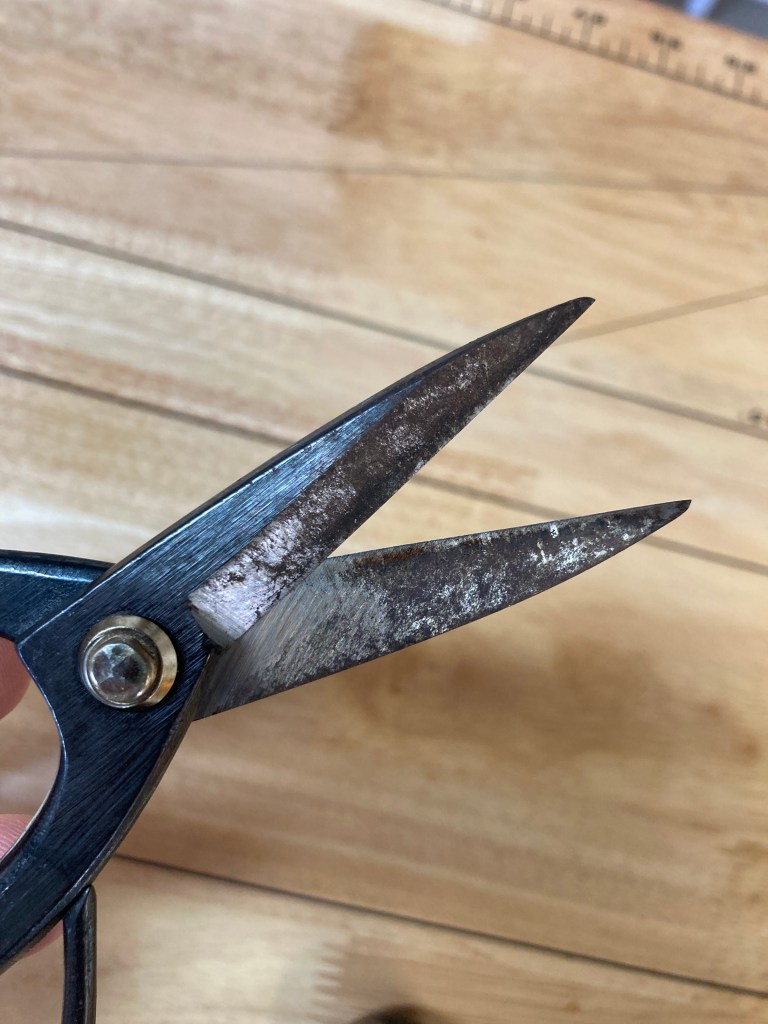
Step 2: Removing Rust

The alcohol alone didn’t do much for the rust. Some of my shears and cutters had visible oxidation, and the knob cutter that had been left in the rain was in rough shape.
I reached for sandpaper because I already had it on hand, starting with 3000 grit, then moving to 2000 and even 1200 grit for the most stubborn rust spots. A rust eraser (sabitoru) would have been an even better choice here, since it’s designed specifically for gently lifting rust but sandpaper works in a pinch.
Safety tip: Bonsai blades are extremely sharp. I wrapped a towel around the edge I wasn’t working on so I wouldn’t cut myself while sanding.
One thing to note is that most carbon steel bonsai tools have a black oxide finish (kurouchi). It helps resist rust, but it isn’t permanent. With time and use, or with heavier cleaning, that dark layer will wear away and expose bare steel. When it came down to choosing between preserving the finish or removing active rust, I chose to prioritize getting rid of the rust.

Step 3: Apply Oil

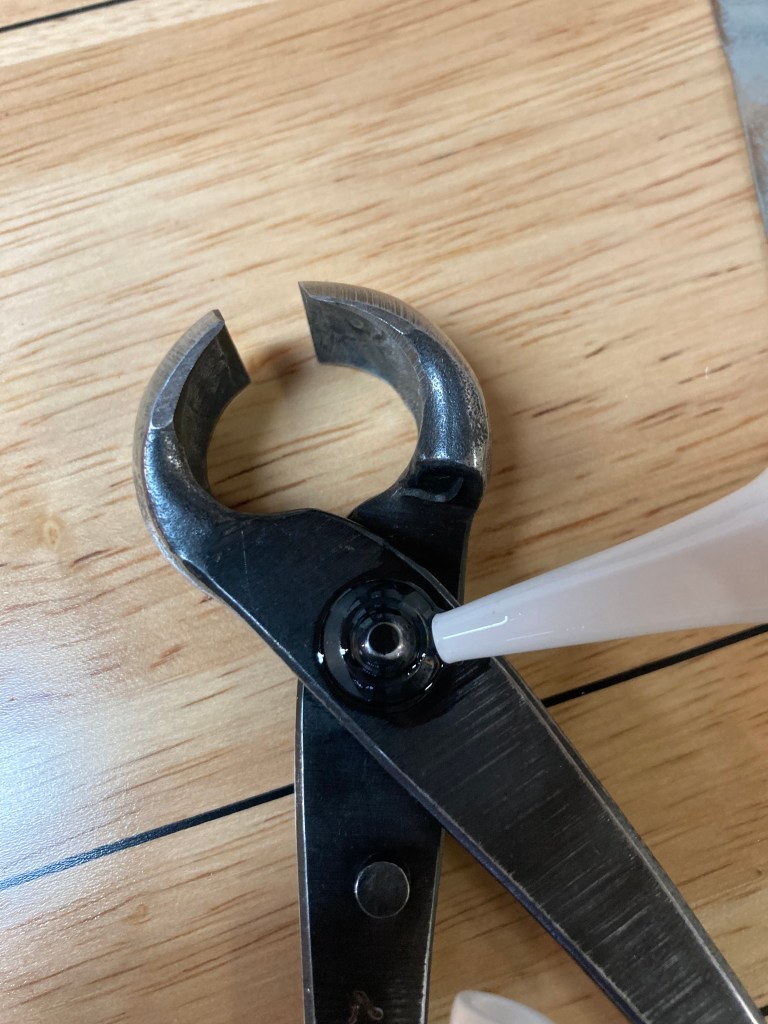
Once the blades were smooth and rust free, I applied camellia oil to them. Camellia oil is the traditional choice, but mineral oil or even light machine oil works.
The key is to leave just a thin protective layer of oil. After applying, I wiped away the excess so the tools were smooth but not slippery. A little oil goes a long way.
I also added a drop of oil to the pivot joint and worked the tool open and closed so the oil could spread evenly inside the hinge.
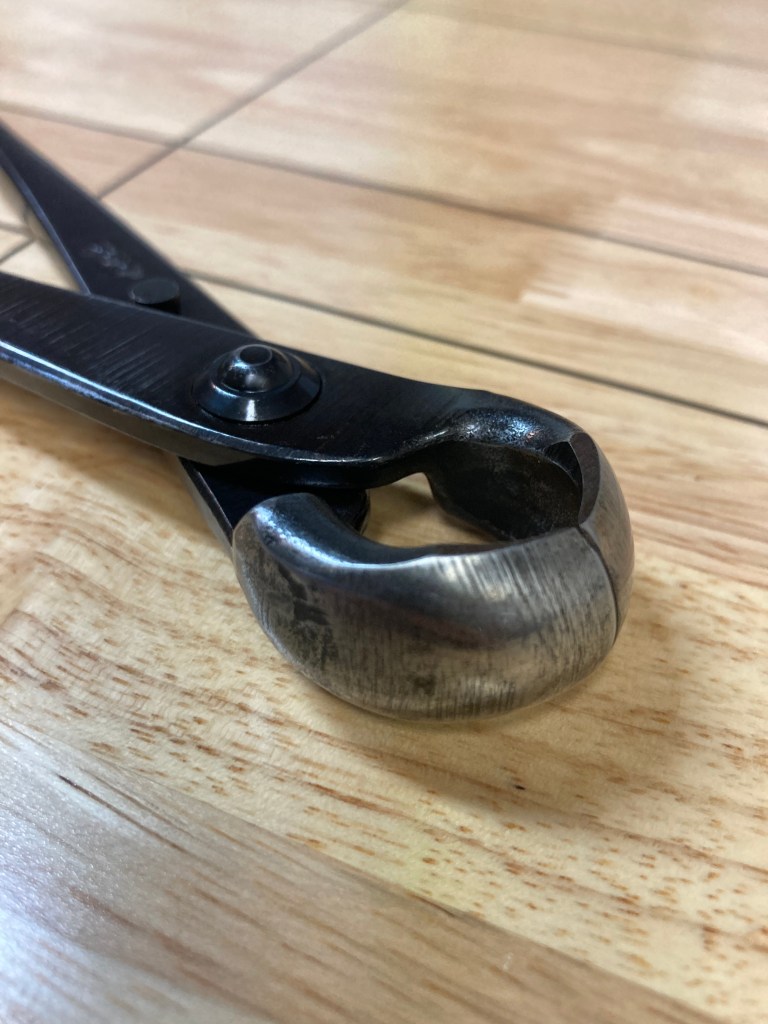
Ready for Use
After sanding and oiling, my tools looked dramatically better. They were clean, smooth, and protected; ready to get back to trimming and shaping trees.
It’s satisfying to see the difference: from dull and rusty to sharp and cared for. Mistakes happen, but tools can almost always be brought back with a little effort.
Preventative Care: The Best Defense Against Rust
Restoring tools is possible, but prevention is always better. Here are a few habits I’ve adopted moving forward:
- Always wipe tools after use with alcohol and dry them thoroughly.
- Apply a thin coat of oil after each use to prevent oxidation.
- Store tools in a waterproof container to protect them from moisture.
- Inspect tools regularly; it’s easier to handle a small rust spot right away than a full restoration later.
- Sharpen periodically so tools stay effective. Rust removal can sometimes dull the edge slightly if you’re not careful so touch ups on a whetstone help.
Final Thoughts
Bonsai tools are an investment. With proper care, they can last a lifetime; but they do need attention, especially in damp climates. If you let them go, as I did, don’t panic. With a little effort, even rusty shears and cutters can be restored to great working condition.
Now that my tools are cleaned up, I’m committed to better daily maintenance. Preventative care really is the best care, and it saves time (and metal) in the long run.
Like this post?
I share reflections, tips, and tools I’ve found helpful along my bonsai journey. Subscribe to follow along and grow with me!